


Bulk photo shrinking on your computer
Overview
Phatch is a smart application which runs on nearly every computer and enables you to compress and resize photos and/or graphics to particular sizes. It can do lots of other things too, such as adding watermarks, rounding corners and a host of other things that do not concern us here. It runs best on Unix/Linux/MacOS systems which all use a variant of the UNIX operating system.
You can read documentation here (opens in a new web browser "tab"):
http://photobatch.wikidot.com/
Unfortunately, the version for Windows is quite difficult to install so I propose a different program for Windows called "Image Resizer". I have tested it onWindows 7 and Windows XP but it is supposed to work fine on Windows 8 as well.
Mac
You can download the Mac application from the attachment area at the end of this article. It is called “Phatch.dmg.zip”. Just download it, unzip it then double click in the Mac Finder. You drag and drop the App to the Applications folder in the normal manner.
Installing the three template files
After you have installed the application on your Mac, you can download and install some templates which I have made to scale images to particular sizes.
Phatch has "Actionlists". These are simply templates to make your life easy.
I have provided three actionlists which shrink and compress the files in a chosen folder and puts the result into a subfolder called (for example) "scaled_400" which tells you all the images in that folder have been scaled to 400 pixels (dots) wide or high.
Download each of these files and put them in the following folder:
For Mac: Home -> Library -> Application Support -> Phatch -> actionlists
Usage: Open the phatch application. You will see the following:
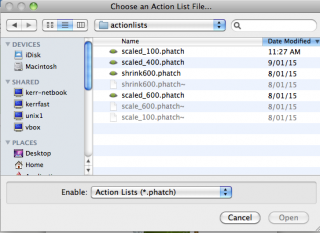
Now cli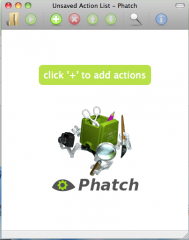 ck the folder icon, top left. This gives you a screen with actionlists (to shrink photos to 100, 400 or 600 pixels across). Select the one you want and click "Open".
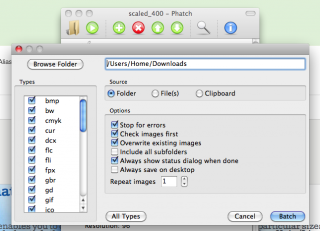
Next click the small green "Play" icon which is next to the folder icon. This enables you to browse to the folder conaining your photos. Select the folder and press Batch.
Then you will see this screen and if you are happy, click "Contine". Shrinking the files will start and when finished, you will find the smaller images in subfolder called scaled_xxx where xxx= 100, 400 or 600. 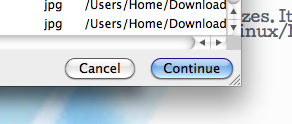
Windows
Download the "Imageresizer.zip" file, unzip it and then double-click on the installer. Answer the questions in the affirmative.
Usage: To use it, open "My Computer" (otherwise known as "Windows Explorer"). Browse to the files you would like to shrink, select them (using the usual ctrl-click to select a number of individual files). Then right click and you will see a new option called "resize photos". Use the custom settings to resize the photos. If you leave "Replace originals" unticked, new files will be created for the shrunk pictures. In general, you probably do NOT want to replace your originals!
| [Save this to the location designated in the article. ] | 1 kB | |
| [Save this to the location designated in the article. ] | 1 kB | |
| [Save this to the location designated in the article. ] | 1 kB | |
| [Download for Windows, unzip and run] | 713 kB |